SONGS AND LEGENDS- A PAINTED MINI BOOK TUTORIAL
This mini-book was made from a folded sheet of A3 cartridge paper in a (longish, off-and-on afternoon), and is a great little project if you need, as I did today, a quick, colourful stand-alone project. It’s easy and great fun, and infinitely customisable!
Materials;
A couple of sheets of A3 paper- cartridge or watercolour, strong enough to take paint. But not too thick to fold- I used 180 gsm.
Acrylic paints in colours of your choice.
Brushes of various sizes, or an old credit card to spread the paint.
Crayons, pens, pencils of choice, collage scraps, or whatever you choose to illustrate the book.
Needle and embroidery thread.
Craft knife or scissors

1. Choose a limited range of colours. Although I used some sample pots of Golden, the paint doesn’t need to be great quality- student quality paint will be fine
2. I started with a thick layer of white and splodged it around roughly with a wide sponge brush.
3. I blobbed (technical term) small amounts of the coloured paint (orange, red and buff titanium) and…
4. …spread it randomly into the white. Don’t overthink this part- just use a dry brush and dab and brush intuitively. Try not to muddy the colours by overmixing.

5. The paper will be quite wet with paint at this point and rather than wait hours for it to dry you can press another sheet of A3 onto it- this way you get two sheets to play with! Plus of course some interesting textures. Continue to brush and spread the paint adding more if necessary for contrast. The build-up of layers in this way gives the paint depth and interest.

6. Scratch some words and lines into the surface of the wet paint, play with the texture, and enjoy the way different colours show through the layers.

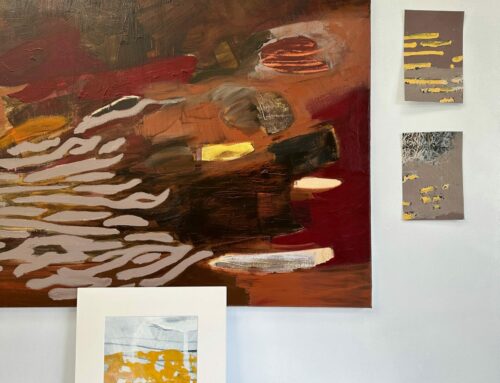
7. This is what my sheet looked like at this point. Very abstract! Allow to dry before the next stage- it won’t take long.
8. Use crayons, pens or pencils to free write on the dry surface of the paint. This is an important part of the process for me. I write straight from the heart, without editing or over thinking. It’s literally a stream of consciousness. It’s unlikely that anyone could read what I’ve written (thank goodness!) but, the writing of it is so important as it gives my work a depth and meaning- to me- that is a large part of the reason why I art journal… I’ll write more of this in a future post. (*NB cat not essential)
9. I used Graphitint water-soluble graphite pencils and a wet brush to blend them in a bit.

10. You’ll begin to see a real depth to the piece now- keep playing until you’re happy with this stage as it will form the background to your book.

11. Fold the sheet lengthways, painted side out.
12. Fold in half the other way, and in half again. See 13. below for the fold lines.

13. Unfold the sheet and cut along the fold line as shown by the red dotted line in 13 above. A craft knife and a steel rule is the easiest option though you can use scissors if you wish.

Fold the sheet lengthways again and pull out the middle of each long side to make a diamond-shaped opening in the folded edge. Holding the ends, push in until the diamond shaped hole closes, and the pages form. It sounds tricky, but it really isn’t! Just play until your booklet takes shape.

14. Embellish your book however you like. I used a white gel pen…
15. Oil pastels…
16. Pencils…
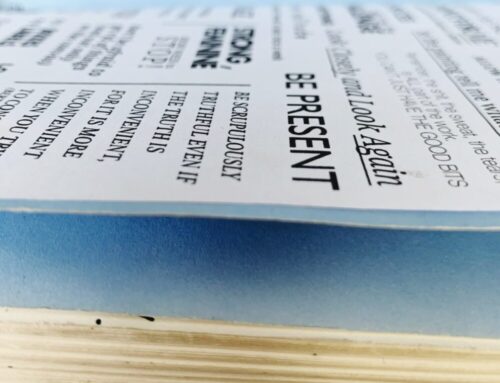
17. Text cut from an old book

18. You’ll see that some of the pages gape a bit- use thread in a contrasting colour to fasten them together. It’s a good way of adding colour and texture whilst securing the pages.
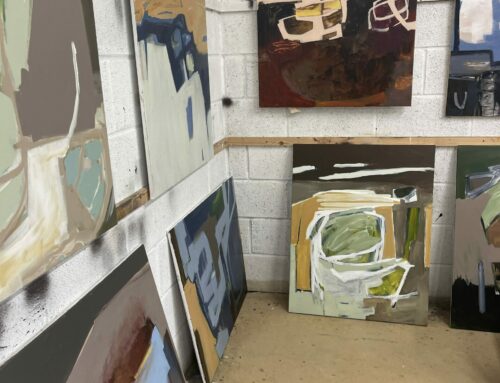
And here is my finished book. You could use it as a journal to write your deepest thoughts in, or a travel journal to add photos and memorabilia to, or as a pretty piece of art in its own right. I’d love to see what you do with yours, do add a link in the comments to show me what evolves if you do decide to have a go! And feel free to ask questions too, I’d love to hear from you.